Step 9: Folder access levels
.
Once Teams are set up in your Workspace you can use them to set your folder access levels as shown below. After step 9 you will know how to restrict access to folders in your workspace.
TIP: To read a complete introduction to the concept of folder access levels go here.
1) Click the title of the folder you would like to edit access for.
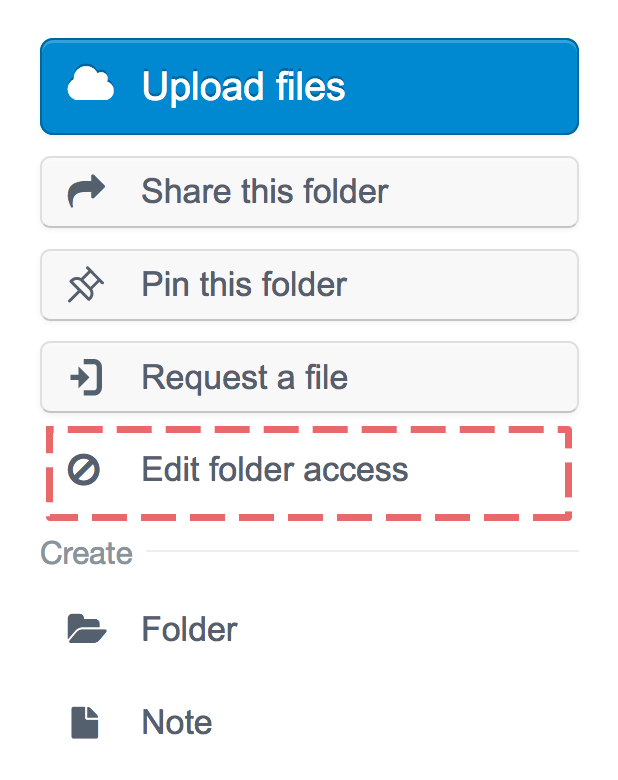
2) Click on the Edit folder access button located in the blue panel to the right hand side of your Huddle screen.

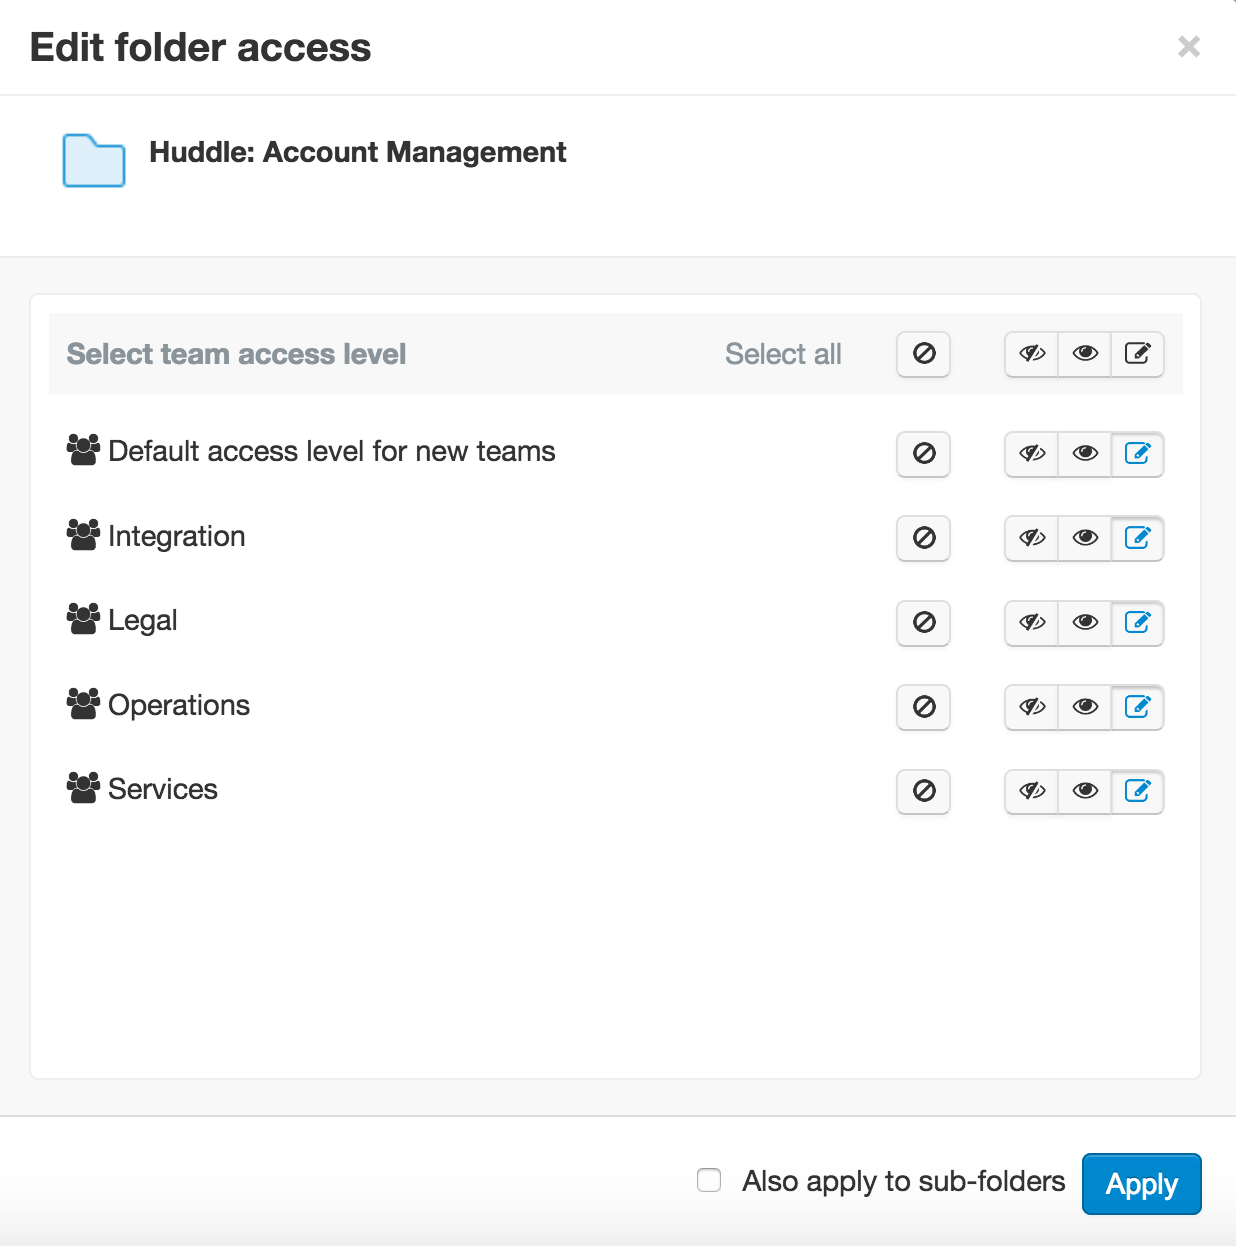
3) You will see the title of the folder you are editing access for in the top of the window that appears and a list of all the Teams you have set up in the Workspace below. You can assign a level of access to each of the teams for this folder.

Here is what the different levels of access mean
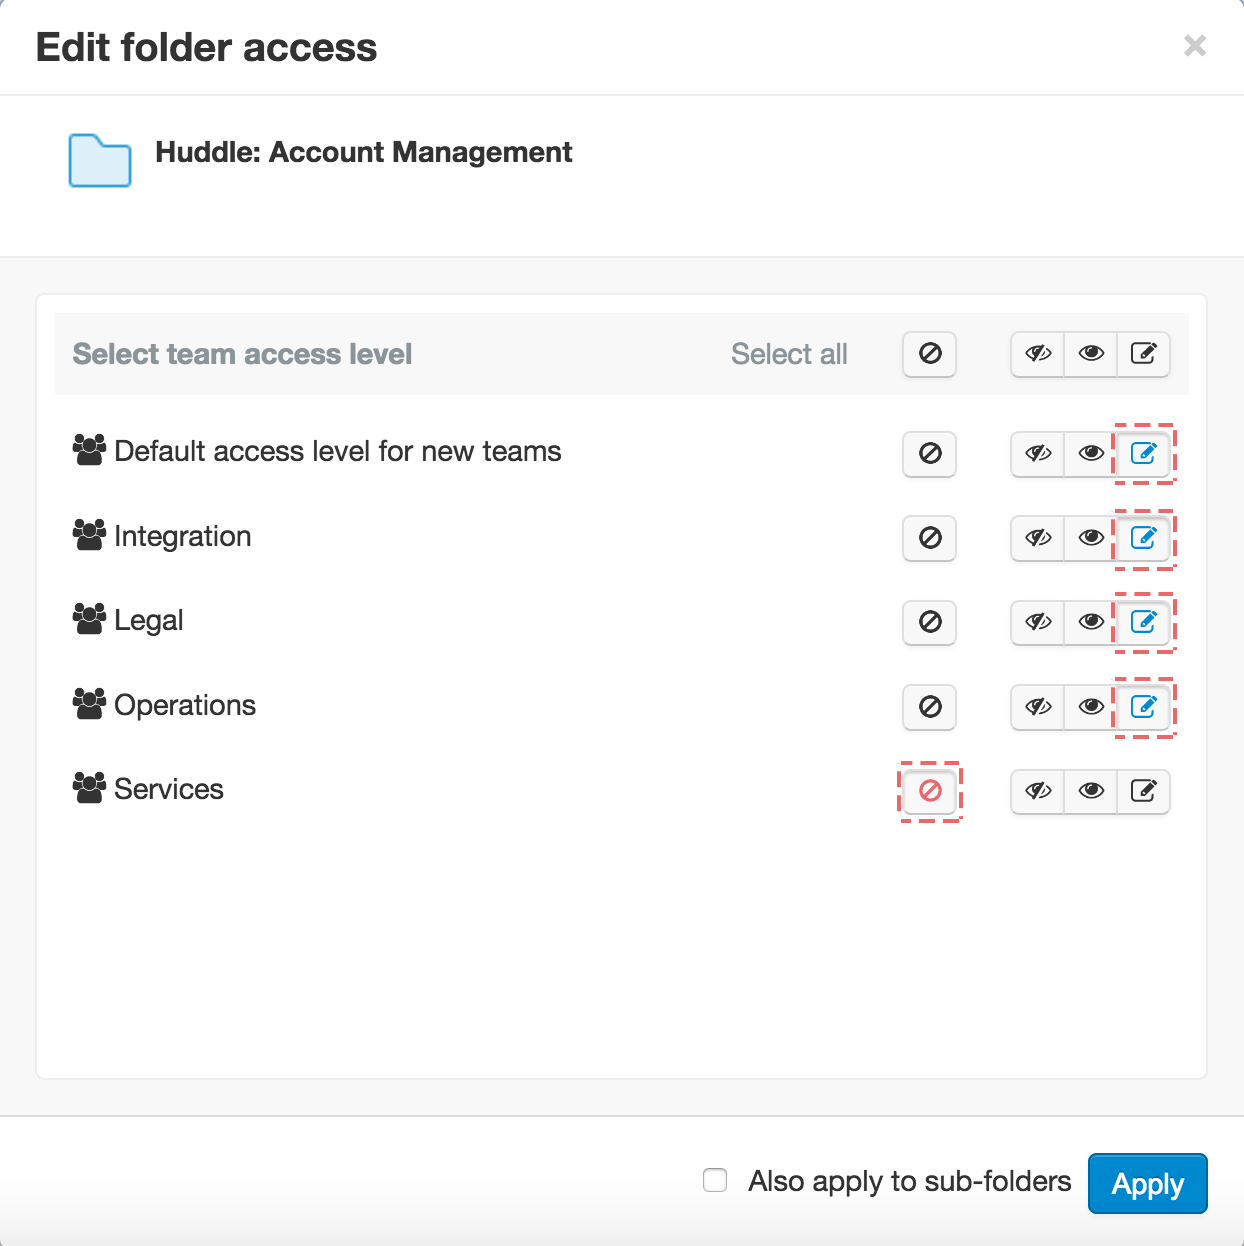
4) To make changes to a Team's access level, click the icon for the desired change, you will know an option is selected when it is highlighted in blue or red as below.

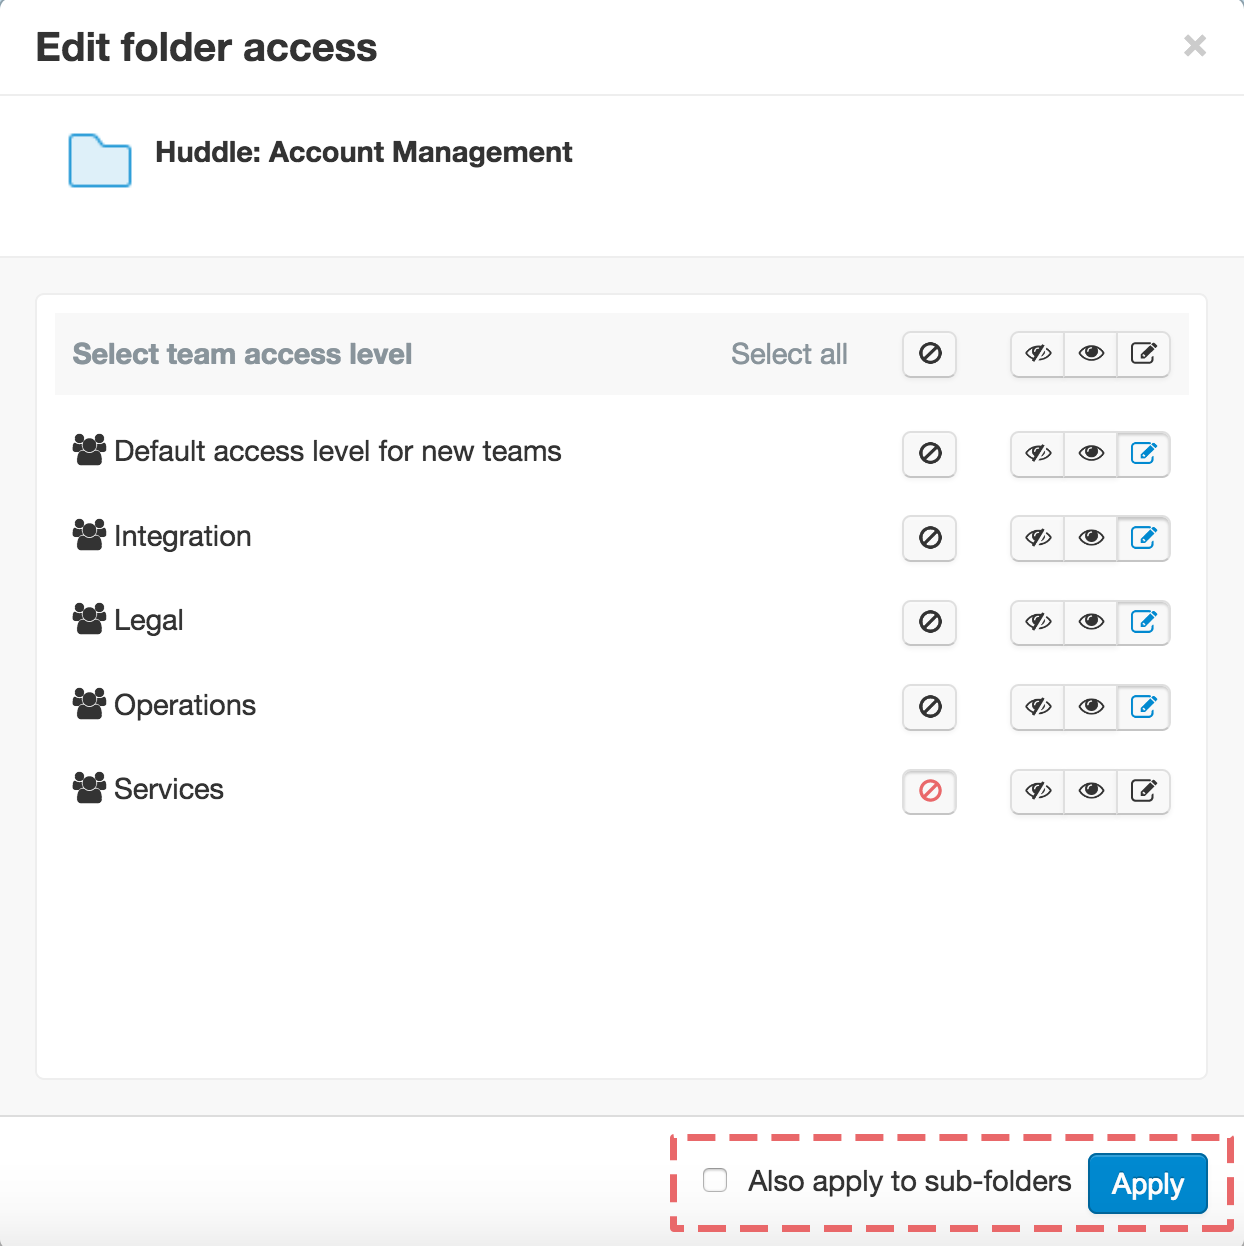
5) You may also want to cascade the access levels to sub-folders by checking the 'Also apply to sub-folders' box. Any sub-folders you create will inherit the main folder's access level automatically.

6) Click Apply.

7) Once the access levels are applied, Huddle will summarise your changes for you so you can double check which teams can edit and/or see the contents of the folder.
TIP: What if a user is a member of multiple teams? Situations may occur in which a user needs to be in more than one team. Please note that users in multiple teams will inherit the access levels of the team with the most open level of access.


