Step 4: Workspace Settings
This article will cover:
I) Workspace Overview customisation
II) How to change your Workspace logo
III) Editing user & invitation privileges
.
I) Workspace Overview customisation

If you are interested in getting customisation for your workspace Overview tab please contact your Customer Success Manager or email help@huddle.com for more information.
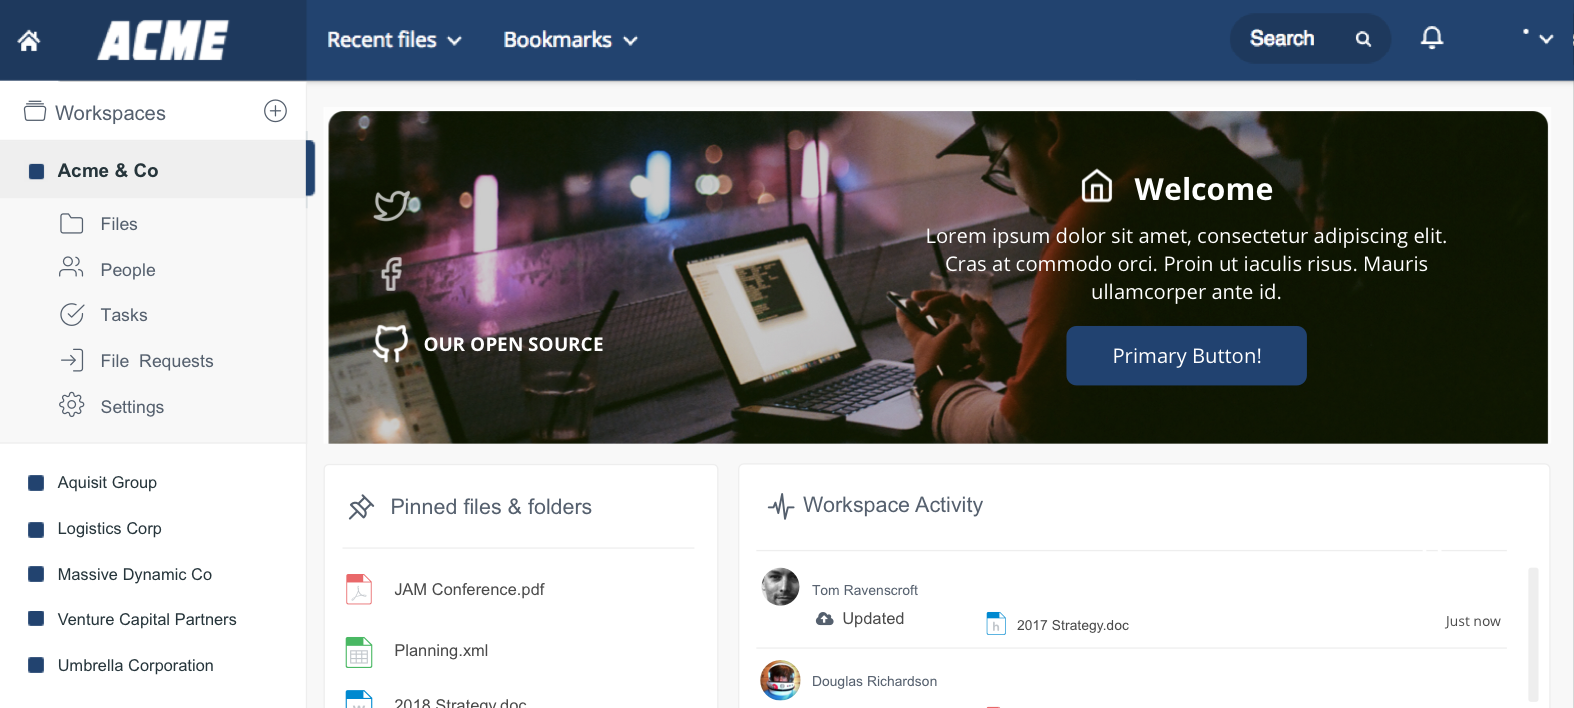
Workspace Overview customisation gives each of your Workspaces a distinct look and feel that aligns with the work they contain. When using Huddle in client engagements you can use our platform to further reinforce your brand.
TIP: You can find out more about customisation here.
Once you have got in touch with us you will receive detailed instructions on how to use the customisaton area in the Settings tab.

.II) How to change your Workspace logo
Your Workspace logo is at the top of the Workspace. It can help reflect the purpose of the Workspace. For example, if you are working with clients, you may want to include their logo in this section to show that this is a shared space.

To add or edit this logo follow these steps:
a) Go to the Workspace Settings area of the Settings tab of the workspace you want to change the logo for.

b) Scroll to the bottom of the page and click Edit Workspace Settings.
![]()
c) Click Browse.

d) Select an image from the pictures stored on your PC.
d) Click Update at the bottom of the page.
.
III) Editing user & invitation privileges
It is important to think about whether or not you will edit user or invitation privileges in your Workspace. These are security features that allow you to control the number of users that can invite others into the Workspace as well as swith on or off certain Workspace features.
a) Go to the Workspace Settings area of the Settings tab.

b) Scroll to the bottom of the page and click Edit Workspace Settings.
![]()
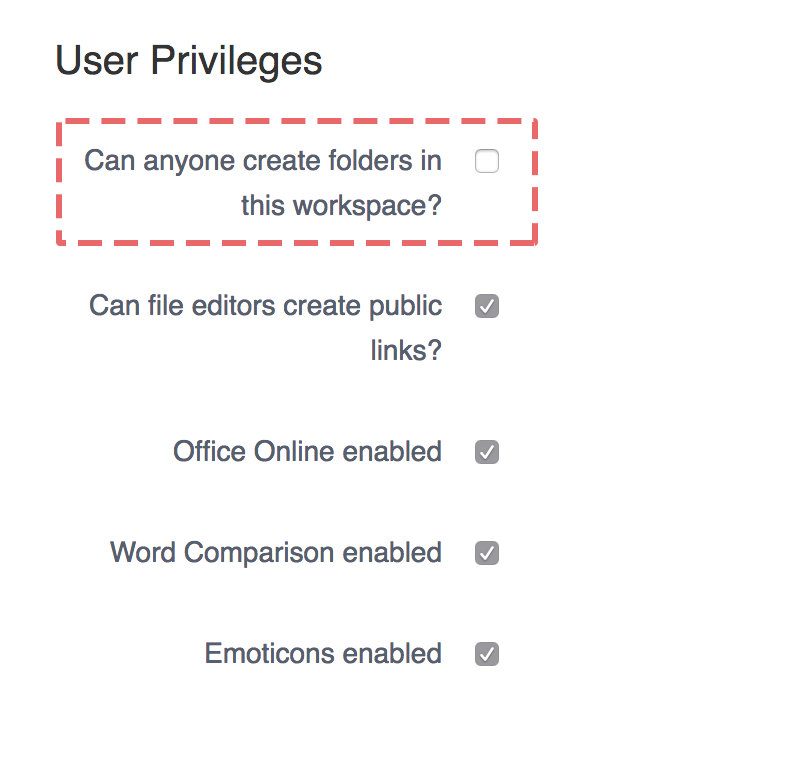
c) Scroll down the page to the User Privileges menu.
d) By default all the features available under your account will be enabled for all users in the Workspace. Disable certain capabilities by unchecking the boxes in this menu.

For example, to restrict the ability to create folders to just Workspace Managers, uncheck the box next to the question: "Can anyone create folders in this workspace?".
e) Scroll further down the page to the Invitations Privileges menu.
f) If you would like only Workspace Managers to be able to invite new members into the Workspace, uncheck the box next to the question: "Can anyone invite people into this Workspace?".


